A garage floor can look “fine” until you lay a straightedge across it and see the real story: shallow birdbaths, old grind marks, trowel lines, and patched cracks that telegraph through every new coating. If you’re planning epoxy or even just want a cleaner, safer surface, the step that separates a floor that lasts from one that peels is usually not the topcoat. It’s the skim coat.
What a skim coat actually does (and what it doesn’t)
A skim coat is a thin, cement-based repair layer that tightens up a concrete surface. When people say skim coat concrete floor leveling compound, they’re usually talking about a polymer-modified product that can be applied from a feather edge up to a few millimeters, depending on the system.
Done right, it fills minor lows, smooths heavy texture left from old coatings or rough finishing, and creates a consistent profile for the next layer to bond to. That consistency matters because coatings don’t fail randomly – they fail at weak points: contaminated pores, dusty laitance, glossy sealed areas, or transitions between patches.
What a skim coat does not do is fix major out-of-level slabs or structural movement. If your floor drops 10-20 mm across a bay, or you’ve got ongoing heave, settlement, or active cracking, a skim coat is the wrong tool. That’s where a true self-leveling underlayment, localized screeding, or structural repair comes in.
When skim coat concrete floor leveling compound is the right call
Skim coating is a practical solution when the slab is basically sound but cosmetically rough or slightly uneven. Typical situations include older garages where hot tires and oil have left staining, warehouses with forklift wear lines, or shop floors that have been patched multiple times and now look like a quilt.
It’s also a smart move when you want a higher-end finish from epoxy. Epoxy is tough, but it’s not magic. If you coat over ripple marks, pinholes, and patch edges, you’ll still see them – sometimes more, because glossy coatings highlight shadows and texture.
A skim coat is also commonly used after grinding when the slab opens up and reveals small surface defects: bug holes, minor honeycombing, and shallow spalls. Grinding is still essential, but grinding alone can’t “fill” – it only removes.
The trade-offs: thinner doesn’t mean easier
Because skim coats are thin, people assume they’re forgiving. They aren’t.
First, the surface prep standard is higher, not lower. Thin layers have less mass and less tolerance for dust, moisture vapor, and contamination. If the substrate isn’t properly profiled and cleaned, the skim coat can debond in sheets or chip under traffic.
Second, feather edges are vulnerable when the wrong product is used or when the edge is placed in a high-traffic zone. A good skim coat compound is designed to taper, but it still needs proper curing and a sound base.
Third, timing matters. Many cementitious products have specific recoat windows, moisture limits, and primer requirements. Miss those details and you can end up chasing pinholes, soft spots, or bond issues that only show up after you’ve invested in the final coating.
Prep is the job: what needs to happen before you skim
If you want predictable adhesion, the skim coat has to bond to concrete, not to dust, paint residue, or curing compounds. That’s why professional surface prep typically starts with mechanical grinding rather than acid etching.
Grinding removes weak surface paste and opens the pores of the concrete so the primer and compound can lock in. It also exposes contaminants that need extra attention – for example, oil spots that have soaked into the slab. Those areas often require deeper grinding and targeted degreasing, not just a quick wipe-down.
Cracks and joints also need an honest assessment. A skim coat can hide a crack for a while, but it won’t stop movement. If the crack is dormant and purely cosmetic, it may be filled and bridged as part of a coating system. If it’s active or tied to slab movement, it needs a different plan, and sometimes it needs to remain as a joint.
Dust control is another factor that affects results more than people expect. Fine concrete dust sits in pores and acts like a bond breaker. Using dust-controlled grinding and thorough vacuuming isn’t about being tidy – it’s about getting the compound to grab the slab.
How a skim coat is typically installed
Most skim coat systems follow a sequence: prime, place, smooth, cure, then refine.
Priming isn’t optional in many systems. The primer helps with wetting, reduces pinholing, and improves bond strength. On porous slabs, skipping primer can cause the compound to lose water too quickly, leading to weak, dusty patches or micro-cracking.
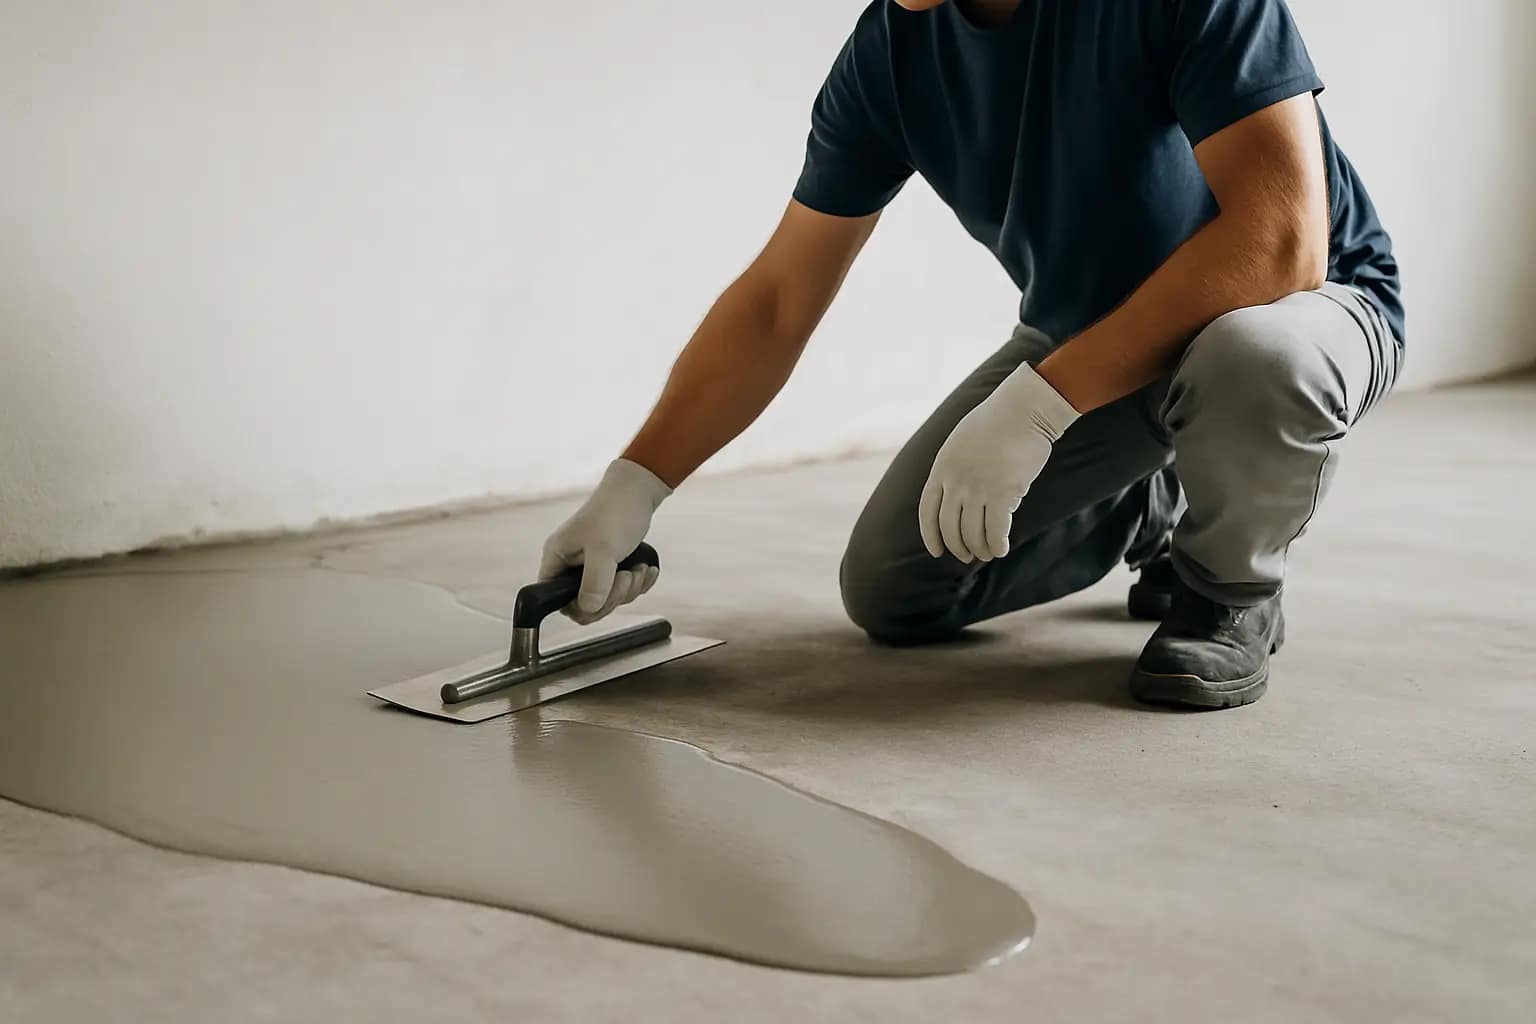
The compound is then mixed to the manufacturer’s ratio and applied with a steel trowel or squeegee, depending on the product and the finish target. The goal is coverage and consistency, not thickness. A good applicator works the material into the surface to fill texture, then tightens it down so it cures dense.
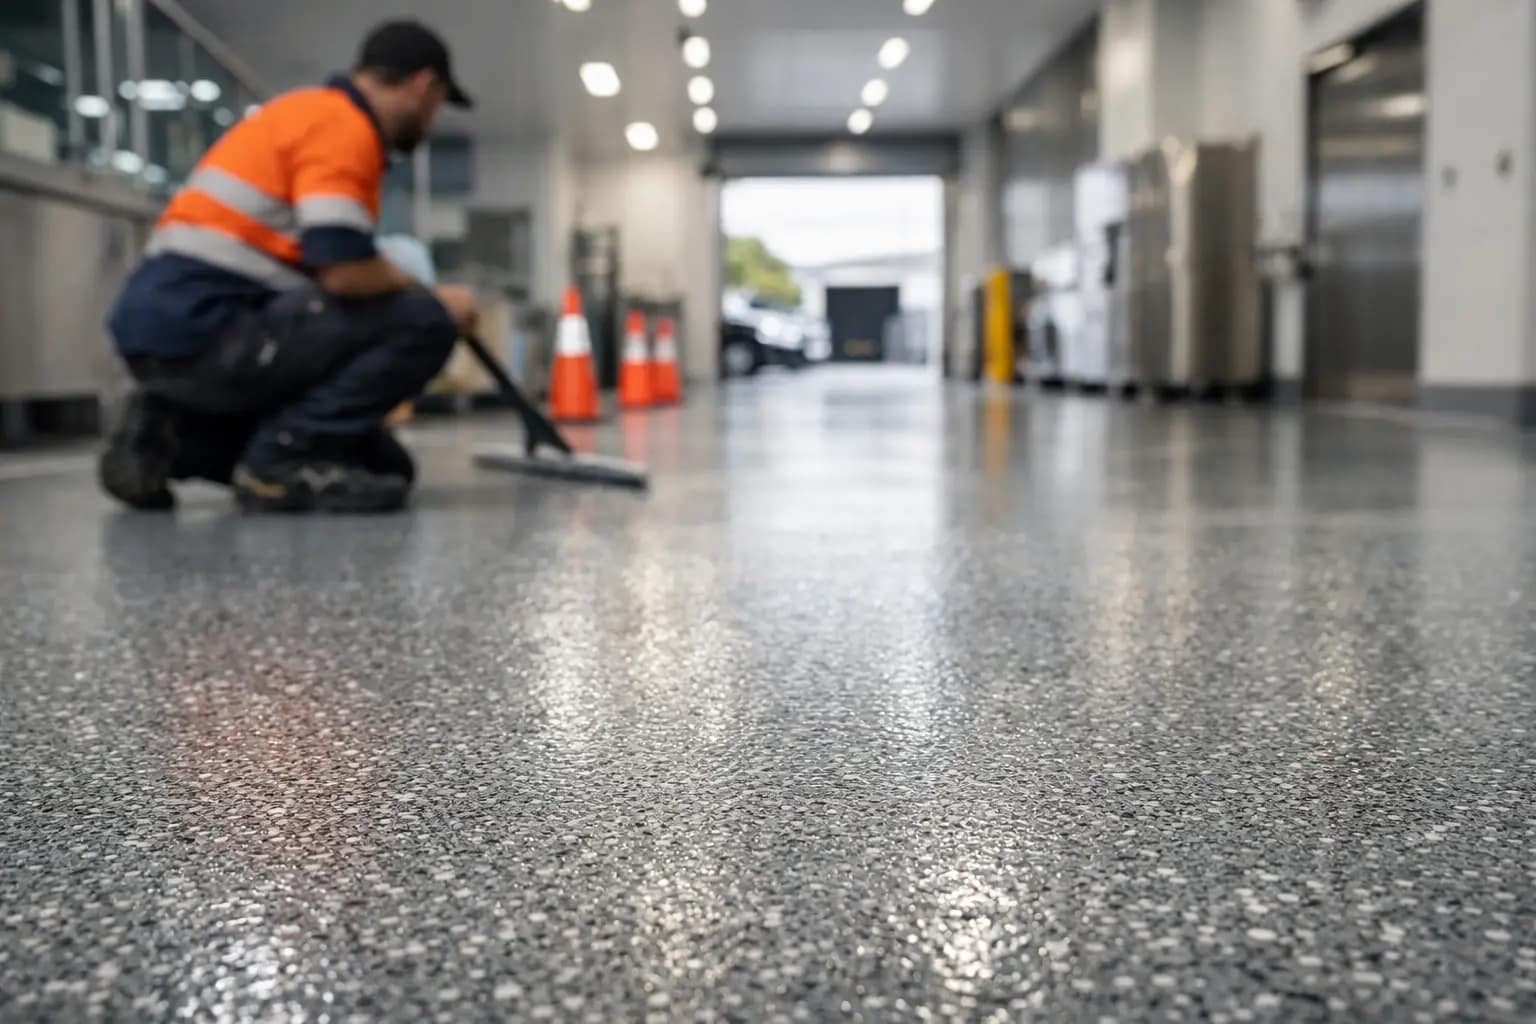
After cure, the surface is usually checked again with a straightedge and lighting. If the floor is heading to epoxy, a light grind or sand may be used to knock down ridges, remove trowel lines, and create the right mechanical key for the next coat. This step is where “looks flat” becomes “is flat.”
Skim coat vs self-leveling: don’t mix up the purpose
A self-leveling underlayment is designed to flow and find level. A skim coat compound is designed to be worked thin and smooth. They overlap, but they’re not interchangeable.
If you have shallow lows scattered across the slab and you want to smooth the surface before coating, skim coating is efficient and cost-effective. If you have consistent waves or larger low areas that need to be brought up to a plane, a self-leveler might be the better specification.
There’s also a practical jobsite difference. Self-levelers can require damming edges, controlling flow into doorways, and planning around set times. Skim coats are more surgical – great for targeting problem areas without building up the whole floor.
Common failure points (and how to avoid them)
Most skim coat problems come down to one of three things: poor bond, moisture, or rushed steps.
Poor bond is typically caused by inadequate grinding, leftover adhesive/paint, or dust. If you can scratch the surface and create powder easily, that’s a warning sign the base isn’t strong enough or the material didn’t cure properly.
Moisture is the quiet one. Concrete can look dry and still be pushing moisture vapor. That moisture can break down cementitious repairs and cause blistering or debonding under epoxy. If the floor is in a garage that gets wet cars, a warehouse with frequent washdowns, or a slab without an effective moisture barrier, moisture testing and the right primer system matter.
Rushed steps show up as trowel lines, high edges, and pinholes. Pinholes are often trapped air or outgassing, and they can telegraph through coatings. Controlling temperature, priming correctly, and applying at the right time of day can reduce it, but sometimes the fix is simple: skim again, then refine.
What to expect on real floors in Sydney and NSW
In many Sydney-area properties, slabs have seen a mix of heat, humidity, and practical wear – especially garages and light-industrial spaces. That combination tends to reveal two realities: oil contamination is more common than owners think, and older finishes often include hard-to-see sealers.
Both affect whether a skim coat will bond on day one and still be tight a year later. If you’re coating for performance – non-slip options, chemical resistance, easier cleaning – you want the repair layer to be as disciplined as the topcoat.
That’s also why quoting should include inspection of the slab, not just a square-meter rate. The difference between “one tight skim” and “multiple repair passes plus deeper grind” is usually discovered when the surface is properly assessed.
If epoxy is the end goal, skim coating is part of the system
Epoxy performs best over concrete that is clean, profiled, and uniform. A skim coat can be the bridge between raw prep and a finish that looks intentional.
If you’re considering a full epoxy floor, treat the skim coat as a performance layer, not cosmetic filler. It supports even film build, reduces weak points, and helps you get a cleaner visual outcome – especially under lighter colors where defects show.
If you want a team that handles prep, repairs, and coating as one scope, Floor Masters does this work end-to-end with premium materials, dust-controlled grinding, and safety-focused options like non-slip finishes. You can learn more at https://Floormasters.com.au.
A good skim coat doesn’t just make a floor prettier. It makes the next layer predictable – and predictability is what keeps a hard-wearing floor looking sharp under real traffic.